The recycle bin is an essential element that acts as a ‘holding bay’ for deleted items. This program provides a safety net for files that have been deleted from the file system but have not yet been permanently erased. However, like any other system component, the recycle bin can become corrupted and a corrupt recycle bin leads to various issues such as the inability to delete files, restore deleted files, or even open the Recycle Bin.
This article will guide you through the reasons for a corrupt recycle bin, how to fix it, and how to recover data from it.
Reasons for Corrupted Recycle Bin on Windows
The recycle bin can become corrupted for several reasons. Understanding these reasons can help prevent future corruption and protect your data:
1. Software Bugs and Errors
Sometimes, software bugs in the operating system or third-party applications can cause the recycle bin to become corrupted. Keeping your software up-to-date can help minimize the risk of bugs.
2. Storage Device Failure
If your SSD or hard drive fails, it can cause data corruption. This is often a sign that your storage device is nearing the end of its life span. Regularly checking your storage device’s health can prevent this situation.
3. Malware Infection
Malware can corrupt files and system components, including the recycle bin. Regularly scanning your computer for malware can help keep it safe.
4. Abrupt Loss of Power
If your computer shuts down suddenly, especially during write operations, it can lead to corruption. Using a UPS (Uninterruptible Power Supply) can help prevent this.
5. User Error
Human mistakes are another major cause of data and recycle bin corruption. Being careful when performing administrative-level tasks on your system and keeping a backup can help prevent this.
How to Fix a Corrupted Recycle Bin?
Fixing a corrupt recycle bin in Windows 10 & 11 involves the six most accessible and effective methods. Here are the steps illustrated to fix recycle bin:
Method 1- Repairing Your Storage Device with the CHKDSK Utility
The CHKDSK utility is a useful Windows tool to fix a error of corrupted recycle bin. This tool checks the integrity of your file system and tries to repair any logical errors it finds. Here’s how you can use it:
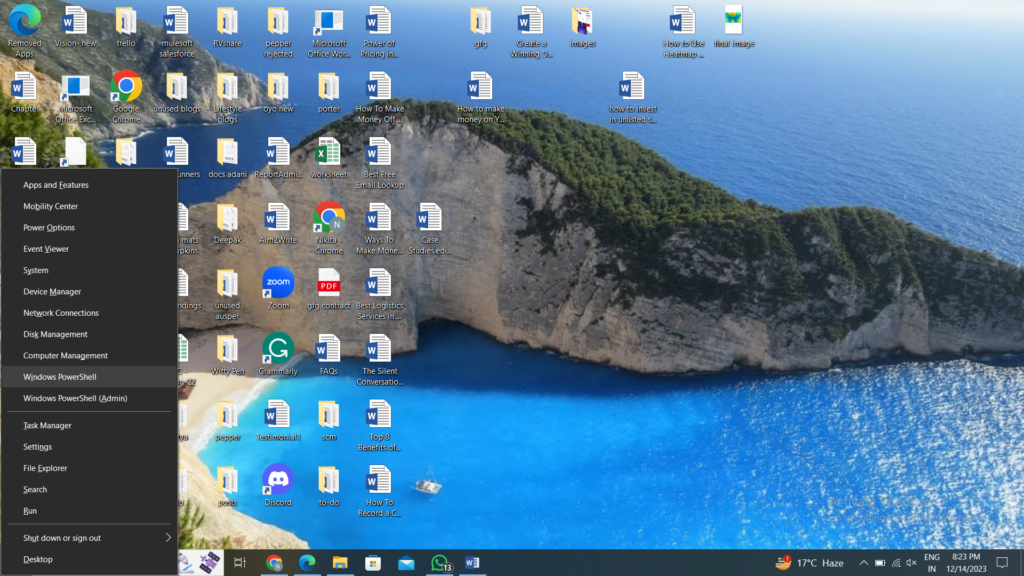
Step 1: Open PowerShell
Press the Win + X keys together and choose ‘Windows PowerShell’ from the menu that appears.
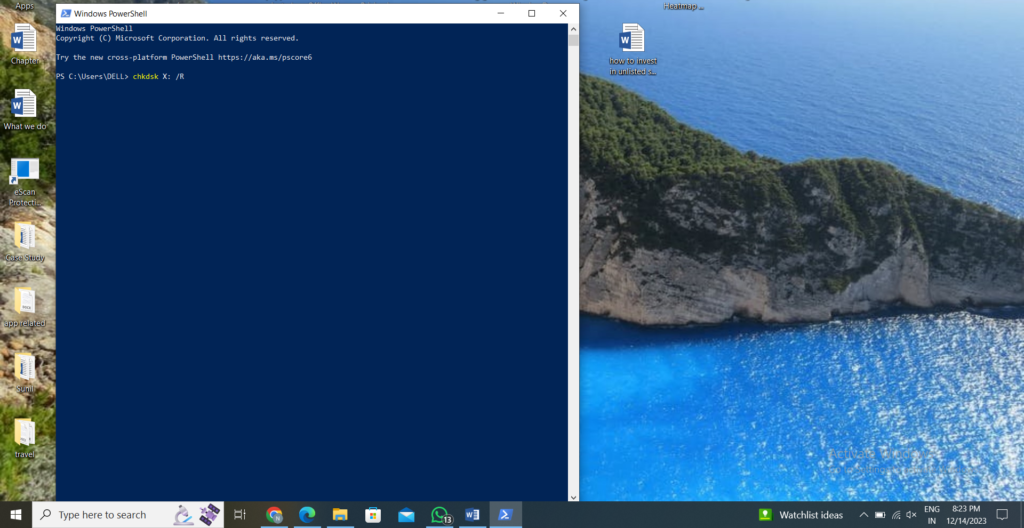
Step 2: Run the CHKDSK Command
In the PowerShell window, type the following command: `chkdsk X: /R`. Make sure to replace ‘X’ with the letter at the drive you want to fix. Once you write the command, tap ‘Enter’ after that.
Step 3: Let the Process Complete
Wait, and restart the CHKDSK utility, which will now start checking your drive and fix all errors it finds. This process might test your patience because it may take time. Once it’s done, restart your computer.
After your computer restarts, try opening the recycle bin again. If the CHKDSK utility was successful, you should no longer see the error preventing you from restoring your files. Remember, it’s always a good idea to back up your data regularly to avoid data loss.
Method 2- Reset Recycle Bin via Command Prompt
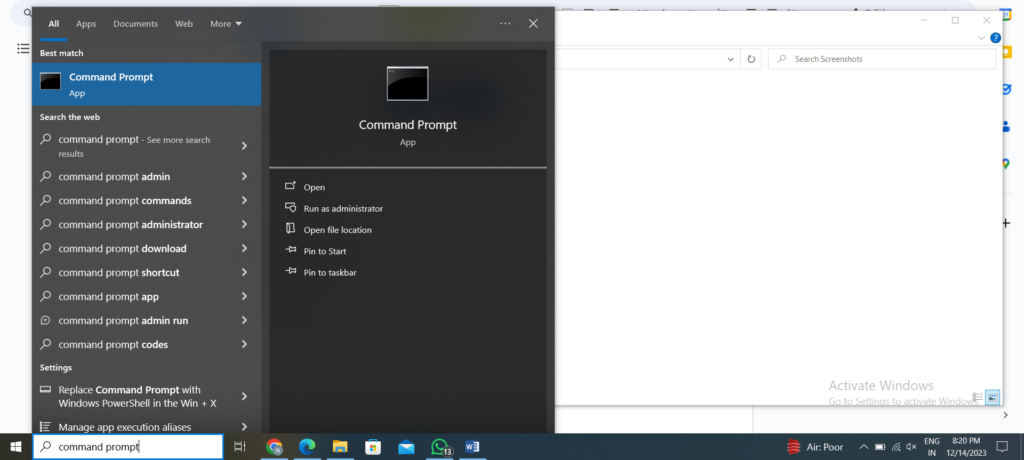
Step 1: Open Command Prompt
To open the Command Prompt, search and choose the Command Prompt (app) option. This will open a Command Prompt window with administrator privileges. It’s essential to open the Command Prompt with administrator privileges because the operation we are about to perform requires it.
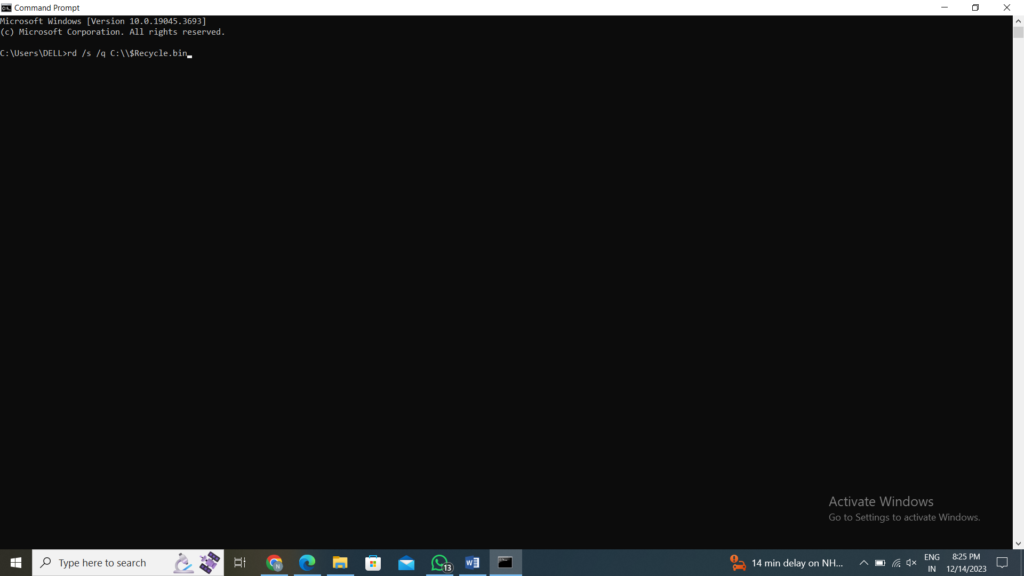
Step 2: Type the Command
In the Command Prompt window, type `rd /s /q C:\\$Recycle.bin` and press the Enter key. This command tells Windows to delete the Recycle Bin folder and its contents on the C: drive. The `/s` switch tells the command to delete all subfolders and files, while the `/q` switch makes the operation quiet, which means it won’t ask for any confirmation.
Step 3: Repeat for Each Drive
If you have more than one drive on your computer, you need to run the command for each drive separately. To do this, replace `C:` in the command with the letter at the drive you want to fix. For example, if you have a D: drive, the command would be `rd /s /q D:\\$Recycle.bin.`
Step 4: Restart Your System
After running the command for all drives, close the Command Prompt window and restart your system. Restarting is necessary because it allows Windows to recreate the recycle bin folder on each drive.
Method 3- Run SFC to repair system files
Although, the CHKDSK method is effective when it comes to fixing the Recycle Bin. Running SFC is another method that repairs system files to fix your Recycle Bin. You must follow these steps to run SFC on your system:
Step 1: Open the Command Prompt on your PC
Step 2: Type the command sfc /scannow in the command line. Tap Enter

Step 3: SFC will scan and repair system files that are corrupted.
Method 4- Use File Explorer to Delete and Reset the Recycle Bin
If you do not want to fix your PC’s corrupt recycle bin with any of the methods above, you can delete it manually using File Explorer. Let’s dive in to learn how to do it:
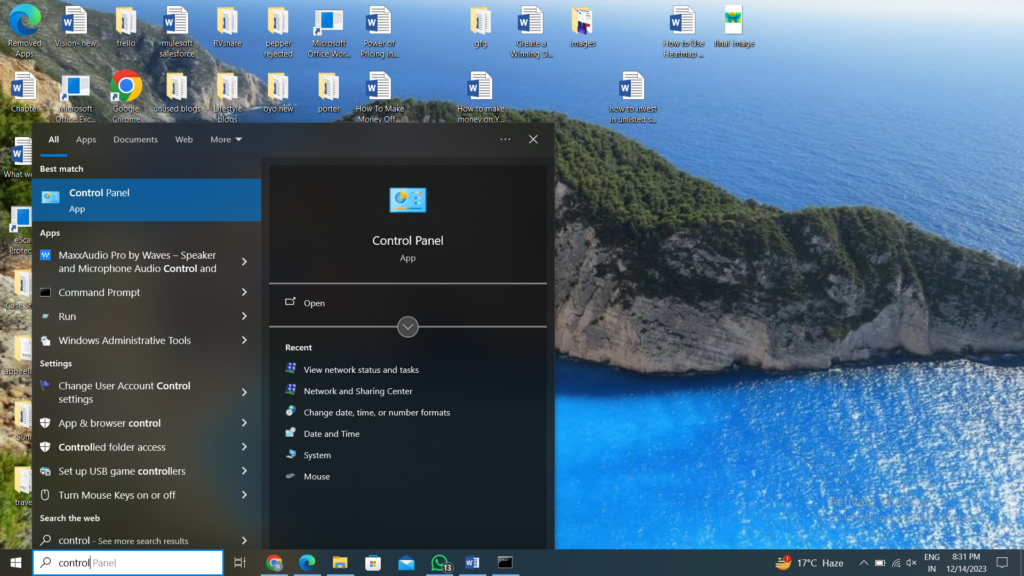
Step 1: Open the ‘Control Panel’ from the Start menu or type Control Panel in the search bar
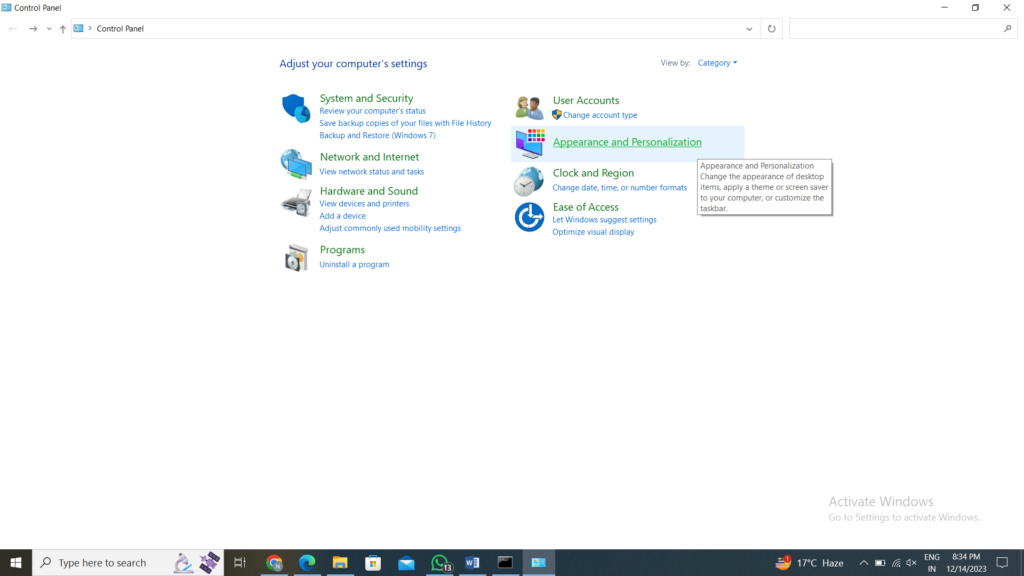
Step 2: Select the ‘Appearance and Personalization’ option
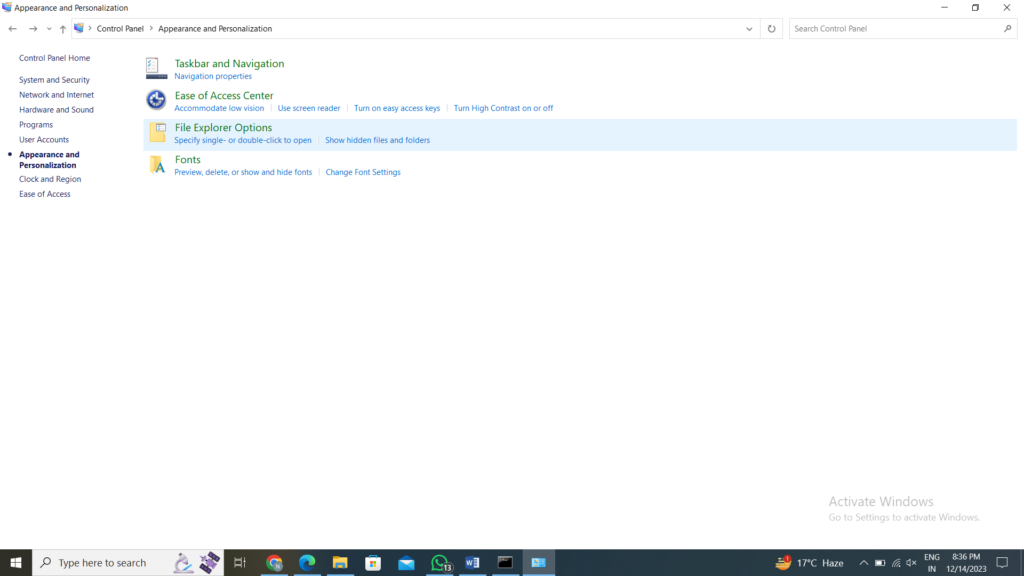
Step 3: Open the ‘File Explorer Options’ tab
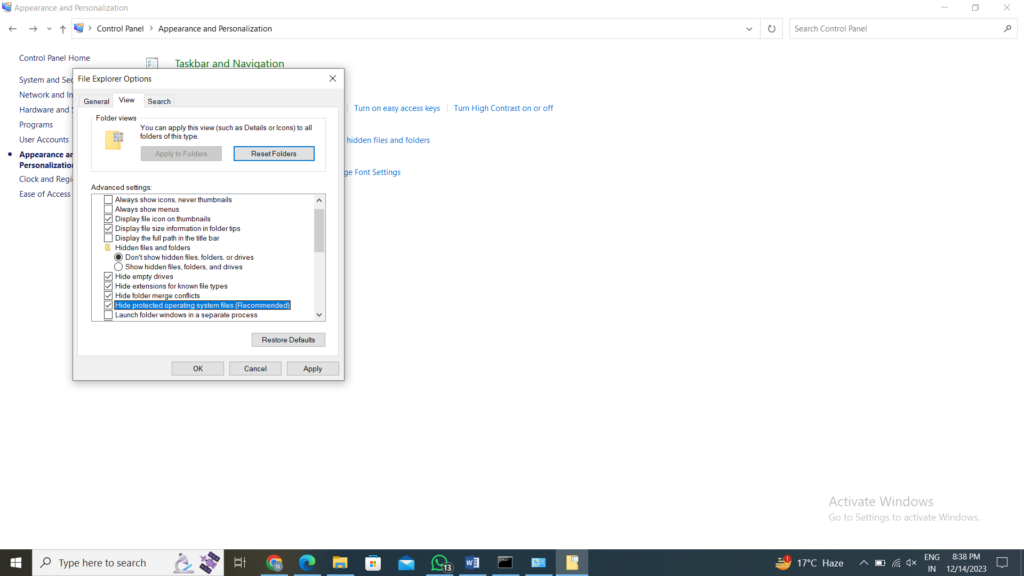
Step 4: Ensure the option ‘Hide protected operating system files (Recommended)’ is unchecked. Click Apply
Step 5: Type the path C:\$Recycle.Bin in the navigation bar while launching the File Explorer.
Step 6: Restart your computer after deleting the content of the folder
Method 5- Scan your PC for Malware
Malware is one of the most common causes of data corruption. Thus, scanning your PC for Malware is a good idea when using Windows 10 or 11. To do this, make sure you follow these steps:
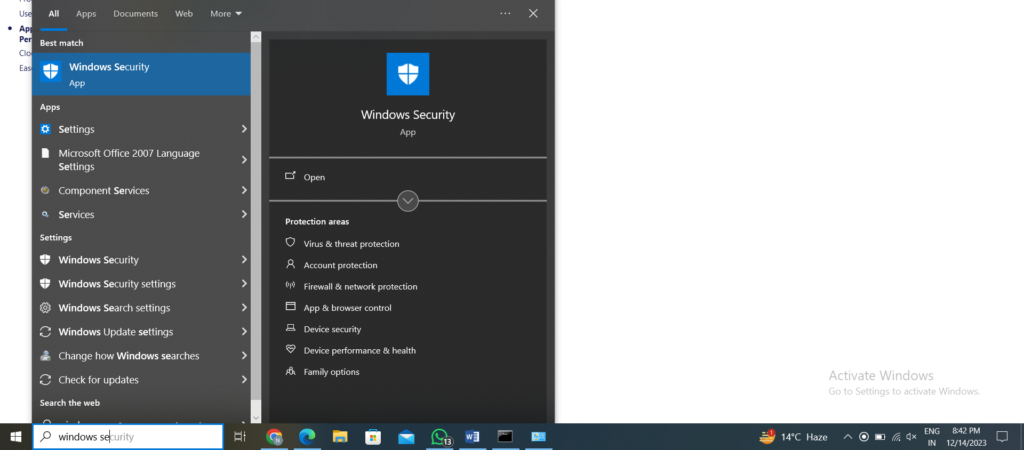
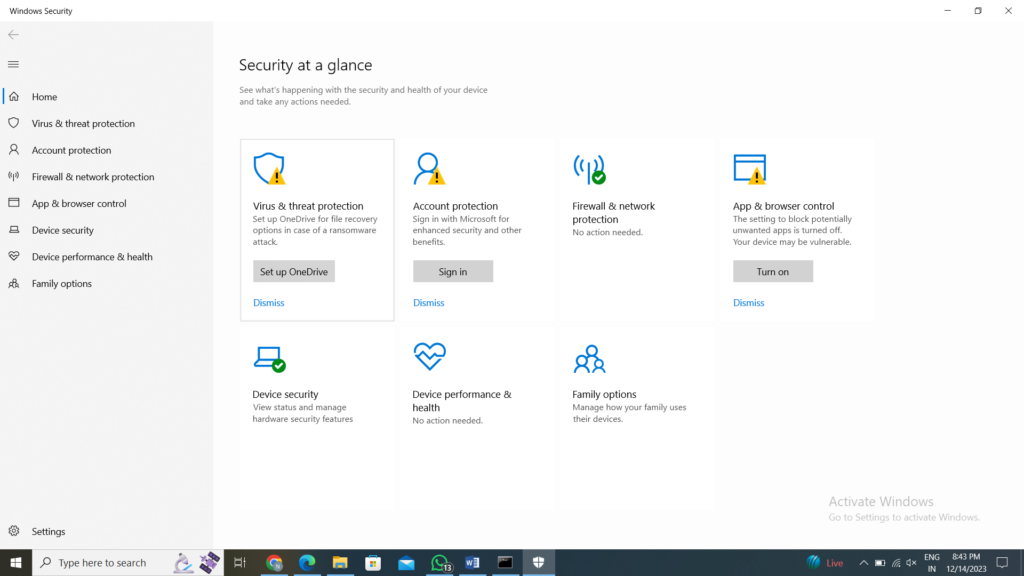
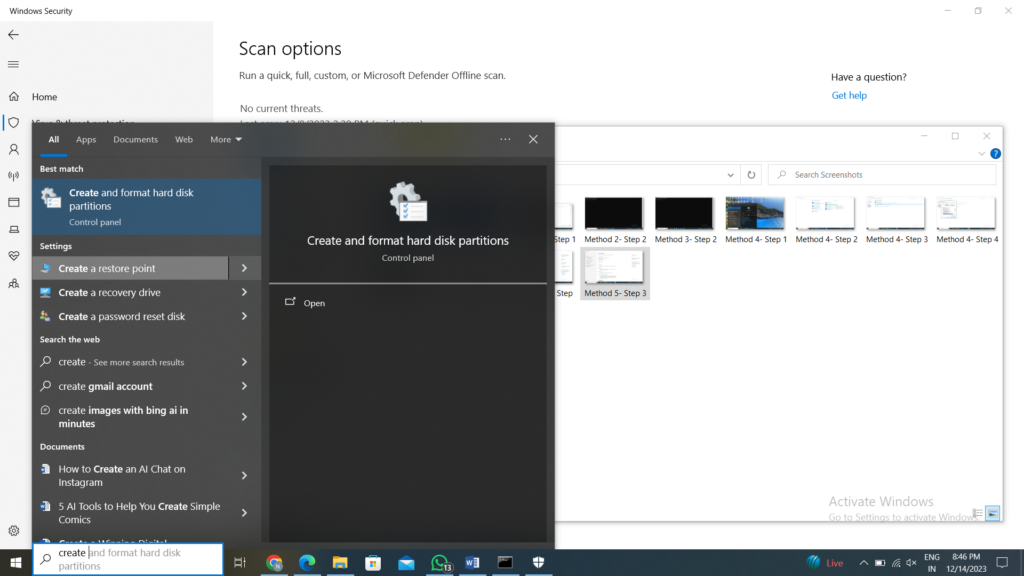
Step 1: Open the Start menu and search ‘Windows Security’
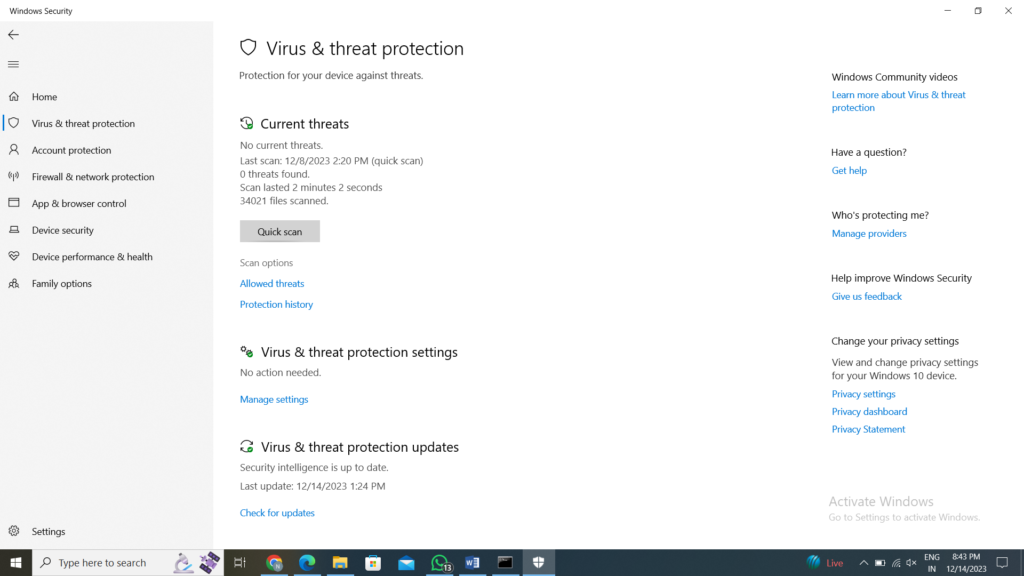
Step 2: Click on Virus & Threat Protection and tap Scan options
Step 3: Select the option Full Scan
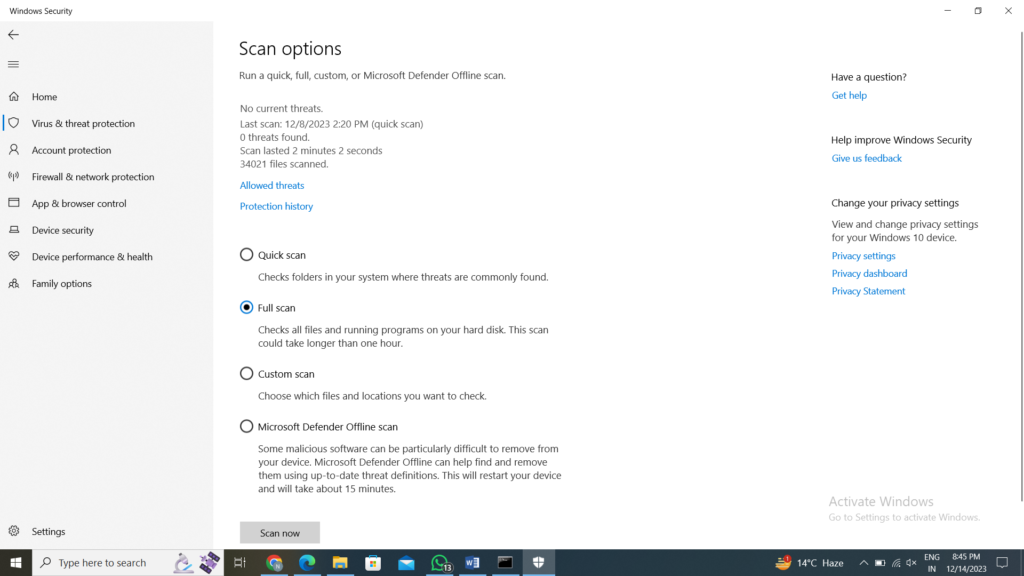
That’s it! Your Recycle Bin should be up & running.
Method 6- Leverage the Power of System Restore Point
If you have created Windows Restore Points for backing up your data, this method is seamless and straightforward to fix the corrupted recycle bin. System Restore Points allow you to restore a computer to an earlier state and necessary changes will be applied. To create a Restore Point, you need to open the Start menu and click the option ‘ Create a Restore Point.’
The above steps will help you fix the recycle bin on Windows 10 and 11. But if your recycle bin was corrupted, you must be worried about your data, right? Do not worry; all the information that will enlighten you to restore recycle bin data is provided below.
How to Recover Data from the Corrupted Recycle Bin?
If you’ve lost data due to a corrupted recycle bin, you can recover it using a reliable data recovery tool. Here’s a detailed step-by-step guide:
Step 1: Download and Install a Data Recovery Tool
There are several data recovery tools available online. Some are free, while others require a purchase. When choosing a platform for this purpose, consider factors such as ease of use, recovery capabilities, and customer reviews.
Step 2: Launch the Application
After installing the data recovery tool, launch it. In this application, you’ll typically see a list of all storage devices connected to your computer. Select the device whose recycle bin folder has become corrupted.
Step 3: Start Scanning
Click the ‘Scan’ button to start the scanning process. The scan may take a few minutes to complete, depending on the size of your storage device. During the scan, the tool will search for recoverable files.
Step 4: Recover Your Files
Once the scan is complete, the data recovery tool will display a list of recoverable files. You can preview these files for recovery. To recover a file, select that particular option and click the ‘Recover’ button. You’ll be asked to choose a location to save your recovered file.
Remember, the success of data recovery depends on many factors, such as the extent of the corruption and the time elapsed since the file was deleted. It’s always a good idea to back up your data regularly to prevent data loss.
Conclusion
A corrupted recycle bin on Windows can be a source of frustration. Still, with the proper knowledge and tools, it’s possible to fix the issue and recover your lost data effortlessly. Always remember to back up your data regularly to prevent data loss.
Good luck with fixing your recycle bin and data recovery!
FAQs
1. Is it risk-free to erase recycle bin Files?
The answer to this question is a big “yes.” The primary purpose is to hold files that you deliberately delete to give them a check later. So, if those files are useless, you can delete them later from your recycle bin.
2. What is the time limit for the files in the recycle bin?
There is no time constraint as such till you have sufficient space. When the space in your system is compromised, you can delete the older files or items not needed.
3. How do I recover deleted Recycle Bin items?
Follow these steps to recover your Recycle Bin deleted items:
– Open File History from the Start menu
– Select ‘Restore your files with files history’ option
– Click the ‘History’ tab to see all your backed-up folders
– Hit the Restore button after choosing all the files you want to restore

Nikita Sikri is a content specialist who simplifies complex ideas and produces SEO-driven content for SaaS and AI-writing platforms. Her strategic writing skills generate leads, nurture them and boost ROI.